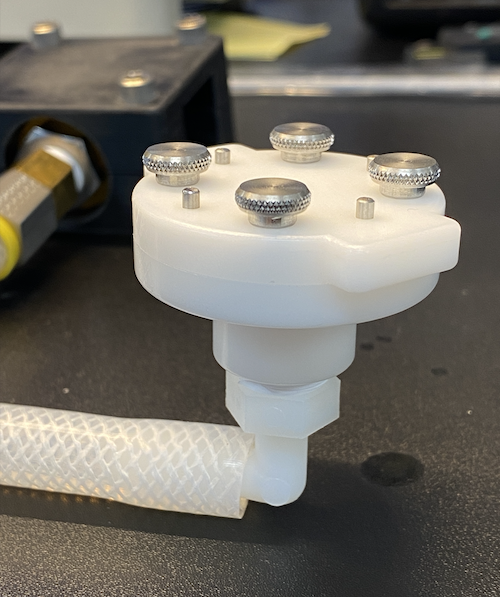
A component of one of the company's proprietary products required pressure testing to evaluate which specimen would provide the best air permeability results.
To design and develop a fixture that can easily, quickly, and accurately measure and test the rate of flow of air passing through a tested specimen under a vacuum seal.
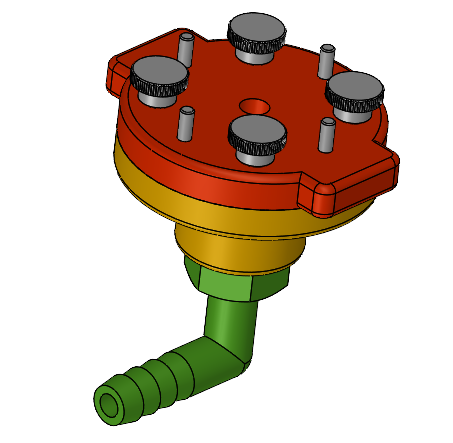
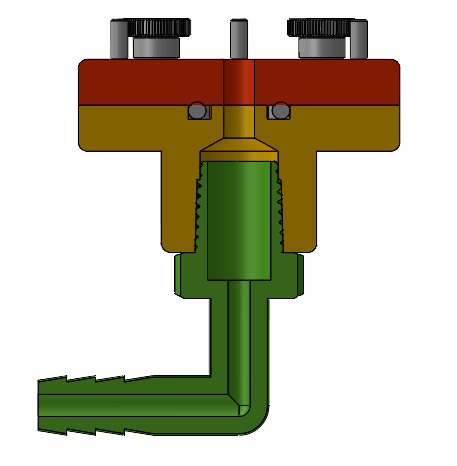
After brainstorming, I decided to design two caps with an o-ring vacuum seal using SOLIDWORKS.
One way I tested the vacuum seal was to place the fixture in water and pressurize it to look for air bubbles/leaks. This was important because it helped me realize the double o-ring seal was not providing a proper vacuum seal. After reading
more about o-rings and vacuum seals, I decided to go forward with only one silicone o-ring to provide a better seal.
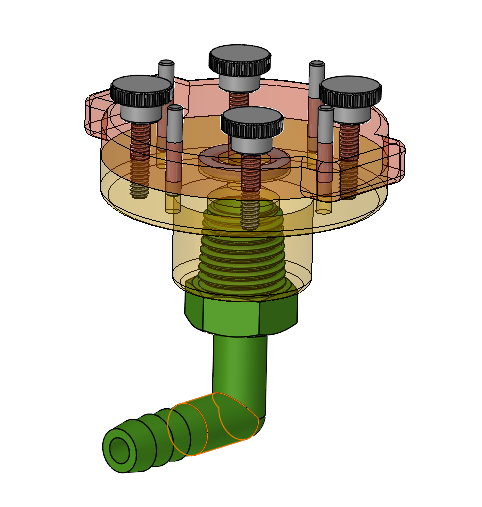
To prevent the specimen from creasing between the two caps, dowel pins were added for simple and easy alignment. The thumb screws and finger nubs were added for quick disassembly and assembly of the fixture which allows for testing more
specimens in a
shorter amount of time. For machinability, I swapped in the built-in barbed fitting for a tapped hole to be connected to a barbed fitting. Additionally, some PTFE tape (plumber's tape) was used around the barbed fitting for a better seal!
After a couple SLA test prints, the fixture was ready to go and be machined externally!
The air permeability testing fixture successfully accomplished its design goals. The fixture was quick and easy to use, had a proper vacuum seal, and provided accurate results!
Copyright © Jen Yeo 2024 |